Chapter 11 Troubleshooting in R
Troubleshooting is a fundamental programming skill. There is no way to become fluent in a programming language without learning how to troubleshoot errors, which are every programmer’s daily bread, no matter the skill level. In this Chapter, we’ll go over the basics of troubleshooting: how to read and interpret error messages, how to take advantage of resources that can help, and how to troubleshoot loops and functions.
One thing that I have found useful in my growth as a programmer was to get myself out of the mindset that the computer must be wrong (which, to be fair, sometimes seems like the only possible explanation) and accept the fact that, if I am getting an error or if the results aren’t what they are supposed to be, it is almost certainly because of user error. While this can seem like a heavy load to bear, it actually is liberating because it means that you can fix it. It’s not out of your control and if you carefully analyze what you wrote you will succeed in finding the problem and correcting it.
11.1 How to interpret error messages
Error messages can be terrifying – nobody likes to see a tide of red invading their R console – but they can be an important ally in diagnosing problems in your code. Some error messages (the good ones) are clear and point you to the problem quite explicitly. Others are cryptic, but they are so typical of certain situations that they end up working as pretty good hints of what is wrong. The worst kind of error is the undescriptive, rare one that gives you no real clue where the problem is.
Also, all that is red is not an error. Making sure you check whether what you got in output is a warning or an actual error message is important, not because warning messages can necessarily be ignored, but because a warning means the code went through, it just may not have done what you thought it would do. Unlike with an error message, where the code stopped and didn’t produce an output, when you get a warning you can actually double check the output and make sure everything makes sense.
11.1.1 Locating the problematic piece of code
RStudio helps you identify which line generated the error by placing little red marks on the left of your script next to the line numbers. However, these can also be misleading because they can appear far downstream of where the original problem is. Also, these marks only warn you of syntax errors: missing commas, missing parentheses or quotes, etc. They cannot warn you about improper use of a function or wrong data dimensions.
The best way to isolate a problematic piece of code is to step through the script line by line until the error occurs. Then, there can either be a problem in that line itself or there can be a mistake in the lines that lead up to that and produced the objects that went as input into that line. So, the first thing to do before you try to dig deeper in the error message is checking that what went in input into that line actually looks like it’s supposed to.
11.1.2 Isolating the error
In general, isolating the problem is the first step in troubleshooting. We’ve talked about running the code line by line to identify which line is problematic, but even within the same line it’s useful to run each piece of code that can be run independently to check that it’s giving the expected output. For example, if I am running the following code:
df <- data.frame(numbers = 1:5,
                 letters = c("A", "B", "C", "D", "E"),
                 animals = c("cat", "dog", "lion", "cheetah", "giraffe"))
I can run each piece to look at it and double check it:
## [1] 1 2 3 4 5## [1] "A" "B" "C" "D" "E"## [1] "cat" "dog" "lion" "cheetah" "giraffe"11.1.3 Deciphering error messages
If the input looks good, it’s time to start deciphering the error message. Here are some examples of common errors and what they usually mean (not literally, but what type of mistake do they usually result from):
## Error in eval(expr, envir, enclos): object 'tets' not foundAn object can be “not found” when you misspelled its name or when you didn’t run your code in the correct order and you haven’t created it yet. This is also an error message that you’ll often see when you try to run a whole script and some problem occurs in the middle: as R tries to keep going after the first error, chances are it will have to look for some objects that do not exist because the previous code failed. So, make sure you start troubleshooting from the first error that occurred upstream.
Here’s another evergreen:
df <- data.frame(numbers = 1:5,
                 letters = c("A", "B", "C", "D", "E"))

df$animals <- c("cat", "dog", "lion", "giraffe")
## Error in `$<-.data.frame`(`*tmp*`, animals, value = c("cat", "dog", "lion", : replacement has 4 rows, data has 5Whenever you see an error of the form replacement has... data has... you know
that you’re trying to plug in the wrong number of values into an object. In this
case, I tried to add a column with four elements to a data frame that has five
rows. Notice that this error is a bit more specific than the previous example
because it gives us an indication of what line failed. This is not particularly
useful in this case where we only ran one line, but when you’re troubleshooting
a function or a larger piece of code that works as one it’s useful to know at
which point within it the error occurred.
Bottom line: use the first component of the error message (the one after
Error in) to identify where the error occurred, and use the second component
(the one after the :) to understand what went wrong.
11.1.4 Syntax errors
Perhaps the most classic of error messages is this:
## Error: <text>:1:24: unexpected ')'
## 1: vec <- c(1, 4, 6, 7, 8))
##                            ^
Make sure you take advantage of RStudio’s highlighting tool to check if you closed all the parentheses you opened. If you move your cursor to an opening (or closing) parenthesis (or bracket), RStudio will highlight the closing (or opening) one.
Another classic:
## Error in `[.data.frame`(df, df$numbers > 4): undefined columns selectedThis is most likely the symptom that we forgot a comma inside the brackets and therefore the indexing isn’t working correctly.
11.1.5 Errors from using package functions
In some situations, you will get an error message that will point you to a line
of code that you haven’t written. That is most likely because a function that
you are calling ran into an internal error, and the code you’re seeing in the
error message is inside that function. In that case, it’s a good idea to focus
on that function and try to figure out why it’s not working like expected. This
mostly happens when using functions from a package other than base.
Another common problem when using functions from packages is that a function can
exist in two packages, have the same name but take in a completely different set
of arguments and do different things. If you call one of these functions
thinking you’re calling it from package A and it’s coming from package B instead,
chances are the inputs you gave it do not work. When a function with the same
name exists in more than one package among those you have loaded, R assumes you
are trying to use the function from the package you loaded most recently. This
is why the order in which you load packages matter. Another (the best) solution
is to use the syntax package::function to specify which package you’re calling
the function from. This removes any ambiguity.
11.2 How to look for help
11.2.1 R documentation
The first thing to check when a function is not working like expected is to look up the documentation and double check that you provided all the necessary input in the right format. You can look up the help file of a function like so:
11.2.2 Google
Googling error messages is an art. Here are my go-to rules for how to put together an effective Google search for an error message:
- Don’t just copy-paste the whole error message; first, remove anything that is specific to your situation. For example, if the error message says,
Error in data.frame(numbers = 1:5, letters = c(“A”, “B”, “C”, “D”, “E”), : arguments imply differing number of rows: 5, 4`
the content of the data frame is specific to my situation, and so are the numbers at the end. I need to remove those and only include the following in my Google search:
Error in data.frame arguments imply differing number of rows
- Always add “in R” at the end of your search;
- If you have identified what function the error comes from, add the name of the function to your search (this does not always help, but it often does);
- If the problematic function comes from a package, add the name of the package to your search.
11.2.3 StackOverflow et al.
The world is so big and there are so many humans on this planet and so many of them program that you will struggle to find a problem somebody else hasn’t already run into and posted about on StackOverflow or similar websites. The difficult part is to take advantage of this endless resource in an effective way. Even after you have looked up an error message and found a post on StackOverflow about it, the specifics of the dataset the other person is using may not be exactly identical to yours. This is where thinking outside the box and drawing parallels between your case and somebody else’s case becomes critical. For instance, say that I run the following code and get an error:
## Error in mat[1, ] <- vec: number of items to replace is not a multiple of replacement lengthIf I go and Google the error, this is the first post I find on StackOverflow about it. This person is trying to do a different thing than me:
they are trying to assign new values to a column in a data frame based on another
column. Their problem is that, because they only want to replace the values that
are NA, the slots to replace are fewer than the total length of the column.
Therefore, there are too many items for too few spaces. In my case, I am not
subsetting the target column, so what I’m doing is a bit different. However,
what both situations have in common is that the number of spaces to be filled
is not the same as the number of items to fill them with. So now I know that my
problem must be that I have too many (or too few) values to fit in my column.
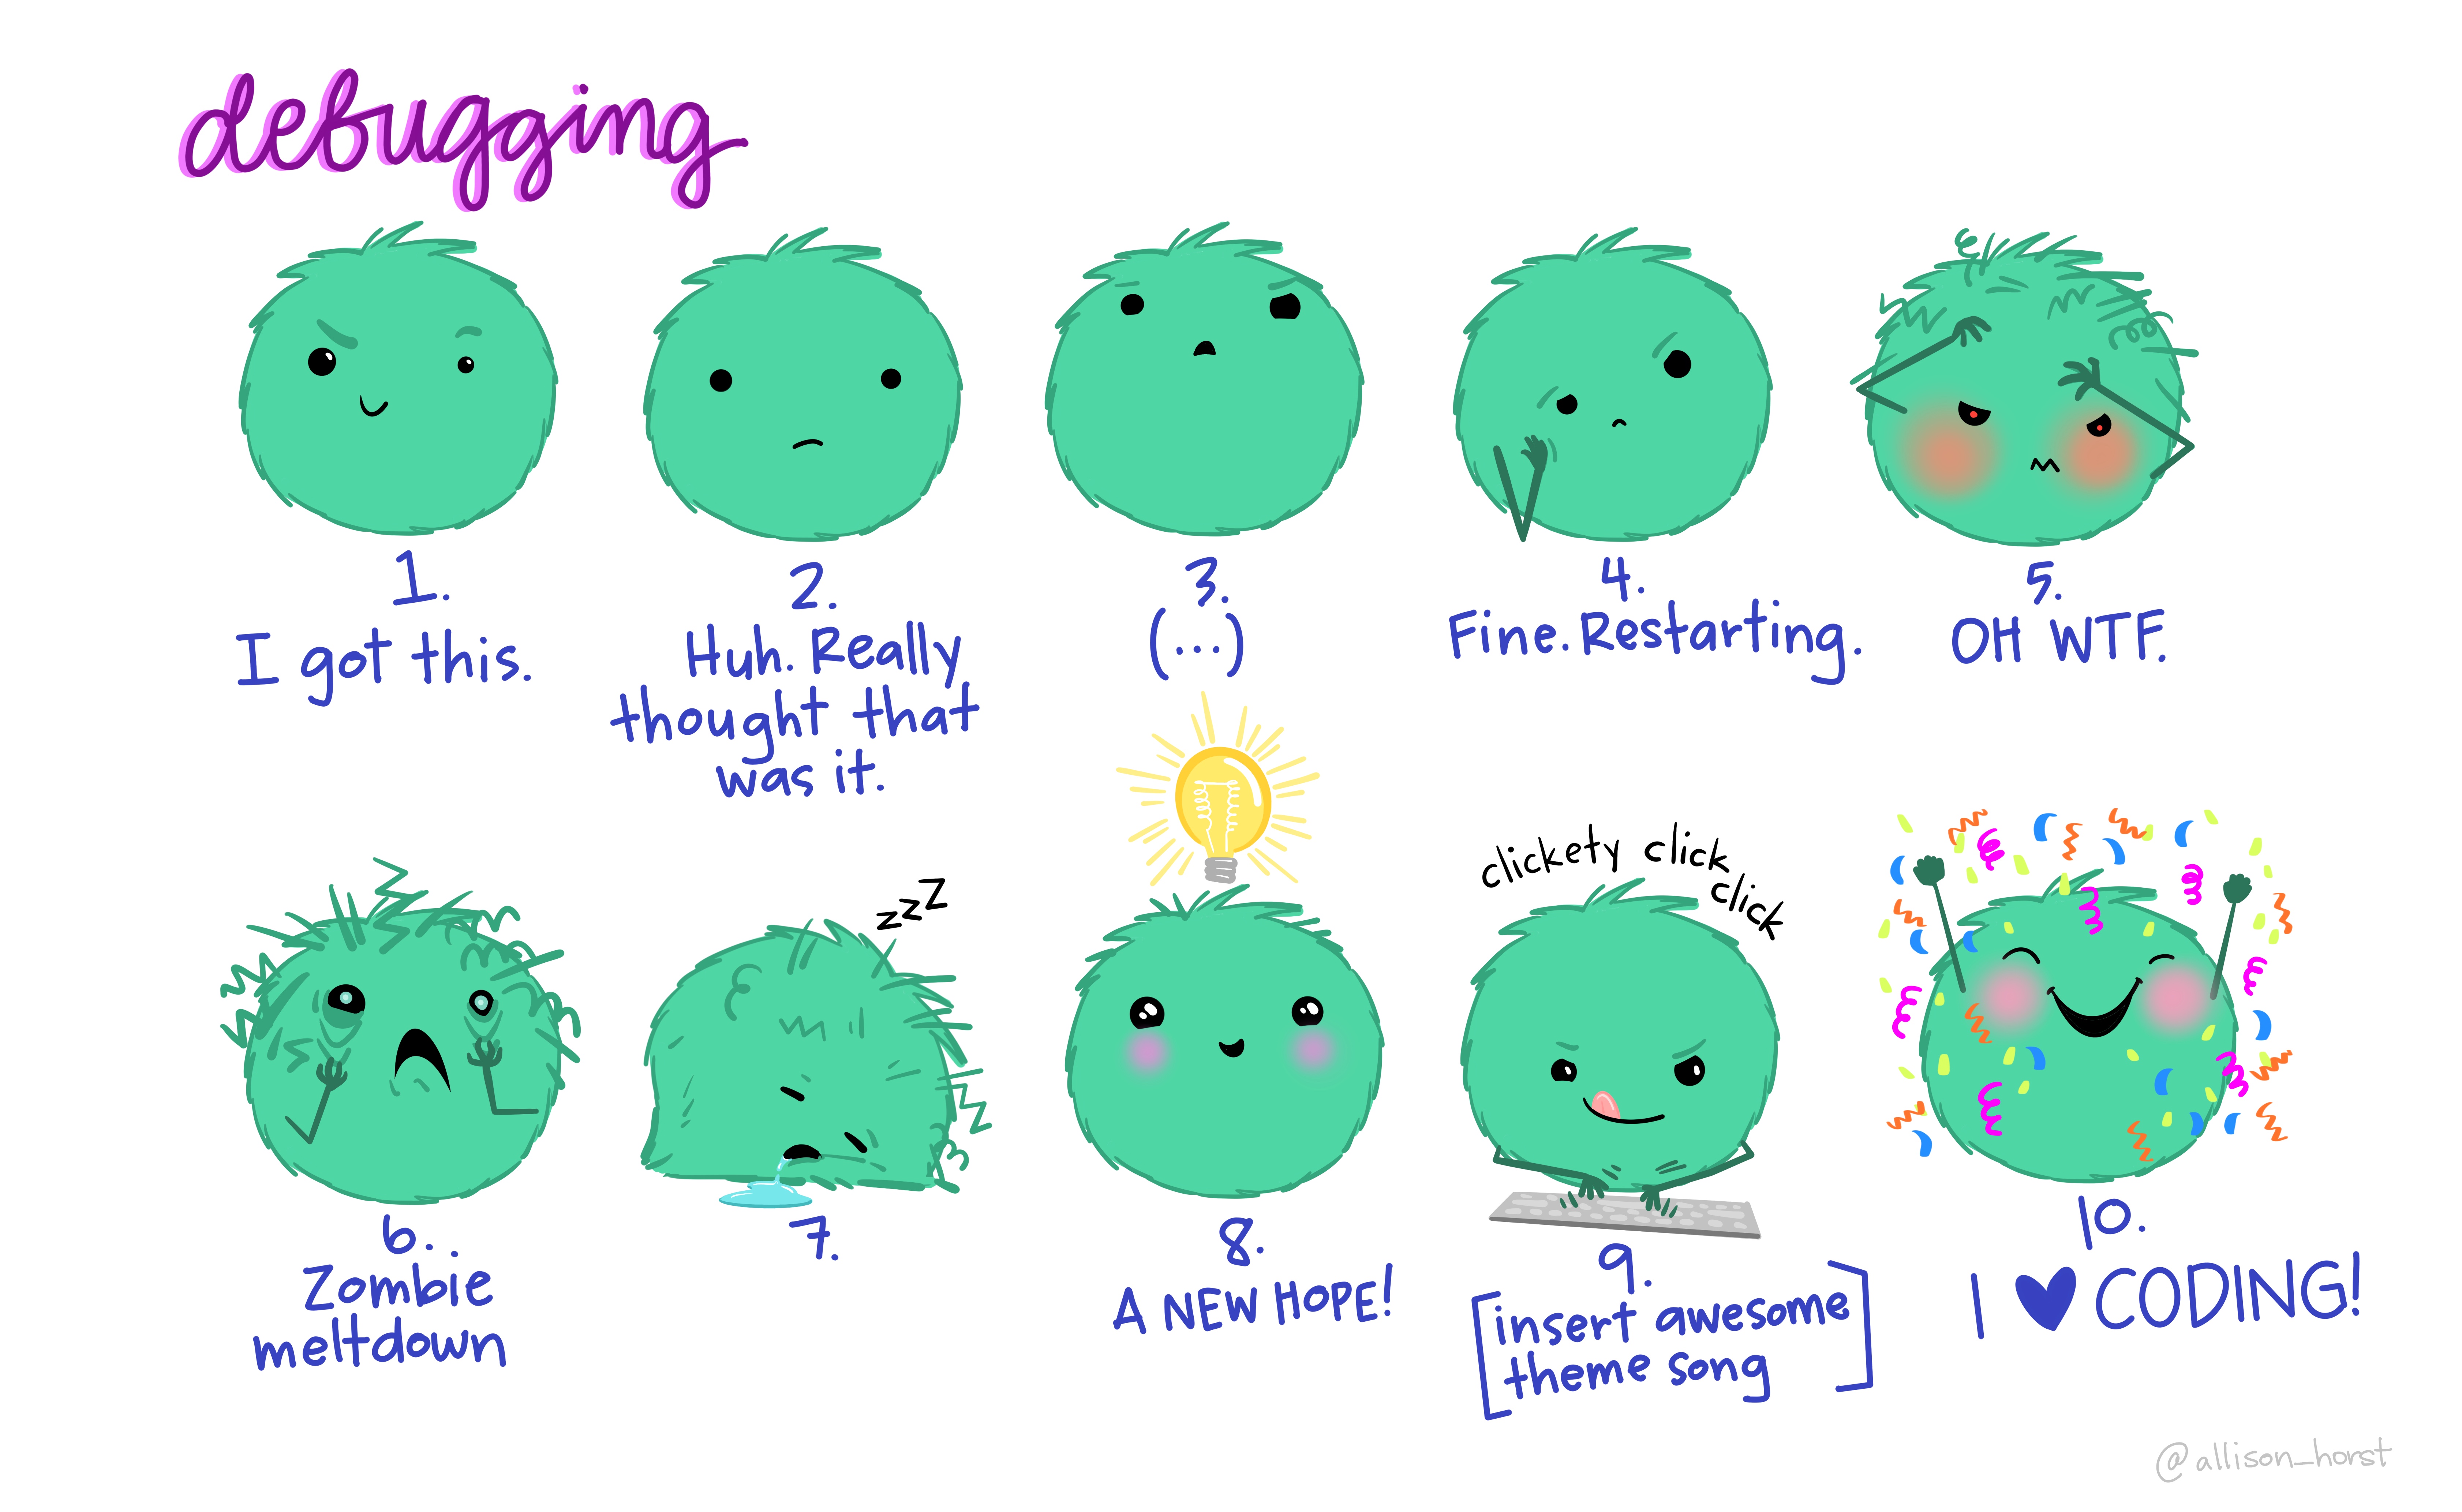
Figure 11.1: Artwork by Allison Horst
11.3 How to troubleshoot a loop
Consider the following loop:
my_list <- list(11, 4, TRUE, 98, FALSE, "yellow", 34, FALSE, TRUE, "dog")

for (i in 1:length(my_list)) {

  item <- my_list[[i]]
  res <- item + 10

}
## Error in item + 10: non-numeric argument to binary operatorSomething is wrong with this loop because I am getting an error. But how do I
know where the error happened? The first trick to know is that loops work
through the indexes you provide as i in order (first 1, then 2, and so on,
until it gets to the end, which in this case is length(my_list)). Each time
it runs through an iteration, the loop will assign to i the current value;
thus, i is an object in your environment. If one iteration returns an error,
the loop stops. So the value of i after the loop stops will tell you which was
the element that produced the error:
## [1] 6In this case, the sixth iteration is the one that failed. Now that we know this,
the second trick to know is that we can step through the loop one line at a time
while having i = 6 and see where the error occurs:
## Error in item + 10: non-numeric argument to binary operatorIn this case, the problem was that item 6 of my list is a character string and I’m asking R to do math on it. I was able to do math on elements 1 through 5 because they were either numbers or logical (which can be coerced to numbers like we saw in Chapter 10.)
Note that this is a useful trick to use not only to troubleshoot loops when
something goes wrong, but also to verify that the loop is functioning correctly
on a single item before you pull the trigger on the whole thing. You can set
i <- 1 and step through the loop line by line to do a test run.
11.4 How to troubleshoot a function
In Chapter 10 we have seen how to write functions and also how to
use lapply to run the same function on a list of objects. Functions can be
as simple or as complicated as we need them to be, but the more complex they get
the more likely it is it will take some trial and error to get them to work
correctly. We need some troubleshooting tools!
Unlike loops, functions do not save any objects to the global environment other
than the final result (wrapped in the return statement). In a loop, every
intermediate product (as well as the index i) are saved to the global
environment at each iteration. Functions, instead, work by creating their own
environment where temporary objects are saved. Then, once the final output is
ready to be returned, the function saves that and only that to the global
environment. Consider the following function:
## [1] 12The intermediate object y is never saved to our global environment. The z
object is the one we’re returning, and it gets saved to the environment with the
name we give it (output). To troubleshoot or verify what’s going on inside of
the function, we need to “move” the process into our global environment. This
means that we need to define an x object in our global environment and then
step through the code inside the curly braces manually:
## [1] 1## [1] 2## [1] 12Now let’s make an example with lapply. Say that we want to apply our function
to the list we used in the loop above:
## Error in x * 2: non-numeric argument to binary operatorHere’s the error again. This time, we don’t get the luxury of looking at the iteration index to get a hint on where things went wrong. So what we can do instead is step through the list elements one at a time:
x <- my_list[[1]] # first we assign the first element of the list to x

# then we step through the code inside the function
(y <- x * 2)
## [1] 22## [1] 32This went smoothly, so that must not have been the problematic item. If we keep going with the other elements, eventually we find the culprit:
## Error in x * 2: non-numeric argument to binary operator## [1] 32## [1] "yellow"And there it is: element #6 is a character string and we get an error because we are trying to do math on it.
11.5 Reproducible examples
In the unlikely event that you run into an error that no human has posted on StackOverflow before, you can post a request for help. It is best to do so by sharing a reproducible example. A reproducible example is a standalone script that allows someone else to reproduce your problem on their computer. Without it, all people can do is read your code and imagine what the output of each step should look like, and it’s hard to diagnose errors that way. To write a good reproducible example, you need to provide the following:
- Required packages: it’s good practice to load these at the top of your script so people can quickly see if they need to install anything before running the code;
- Data: if you can reproduce your problem using one of the built-in datasets
available in R, you can use that. Otherwise, you can use the function
dputto generate code to recreate your current dataset and then copy-paste it into your script:
df <- data.frame(numbers = 1:5,
                 letters = c("A", "B", "C", "D", "E"),
                 animals = c("cat", "dog", "lion", "cheetah", "giraffe"))

dput(df)
## structure(list(numbers = 1:5, letters = c("A", "B", "C", "D",
## "E"), animals = c("cat", "dog", "lion", "cheetah", "giraffe")), class = "data.frame", row.names = c(NA,
## -5L))df <- structure(list(numbers = 1:5,
letters = c("A", "B", "C", "D", "E"),
animals = c("cat", "dog", "lion", "cheetah", "giraffe")),
class = "data.frame", row.names = c(NA, -5L))- Code: the code that you want to get help with;
- R environment: you can obtain information on your current session environment
using the
sessionInfofunction. Copy-paste the output as a comment into your reproducible example script:
## R version 4.3.2 (2023-10-31 ucrt)
## Platform: x86_64-w64-mingw32/x64 (64-bit)
## Running under: Windows 11 x64 (build 22631)
##
## Matrix products: default
##
##
## locale:
## [1] LC_COLLATE=English_United States.utf8
## [2] LC_CTYPE=English_United States.utf8
## [3] LC_MONETARY=English_United States.utf8
## [4] LC_NUMERIC=C
## [5] LC_TIME=English_United States.utf8
##
## time zone: America/Los_Angeles
## tzcode source: internal
##
## attached base packages:
## [1] stats     graphics  grDevices utils     datasets  methods   base
##
## other attached packages:
## [1] DBI_1.2.3
##
## loaded via a namespace (and not attached):
##  [1] vctrs_0.6.4       cli_3.6.1         knitr_1.45        rlang_1.1.2
##  [5] xfun_0.41         highr_0.10        png_0.1-8         jsonlite_1.8.7
##  [9] bit_4.0.5         htmltools_0.5.7   sass_0.4.7        rmarkdown_2.25
## [13] evaluate_0.23     jquerylib_0.1.4   fastmap_1.1.1     yaml_2.3.7
## [17] memoise_2.0.1     bookdown_0.40     compiler_4.3.2    RSQLite_2.3.7
## [21] blob_1.2.4        pkgconfig_2.0.3   rstudioapi_0.15.0 digest_0.6.33
## [25] R6_2.5.1          bslib_0.5.1       tools_4.3.2       bit64_4.0.5
## [29] jpeg_0.1-10       cachem_1.0.8
11.6 The rubber duck

Figure 11.2: The rubber duck method consists of explaining code out loud to a rubber duck.
The rubber duck is a method of debugging code introduced by software engineers. It consists of explaining code, line by line, to a rubber duck. If you don’t have a rubber duck, people have reportedly been successful using their cat, dog, or other pet instead. While this debugging technique may sound laughable at first, it goes to show that verbalizing out loud what the code is supposed to do in each step (and what it does instead) may force us to recognize connections and details that were not clear in our mind, to the point that the solution becomes apparent. On a similar note, never underestimate the power of reading your code aloud.